
Ways to Create a Job
There are four ways to create jobs in JobFlow:
- Create Job
- Add Job from Customer
- Duplicate Job, and
- Quick Create Job
1. Create Job (Full Job Creation)
Use this method when you want full control over job details.
- From the Dashboard click into the Job List

- Click “Add Job” (bottom left corner)

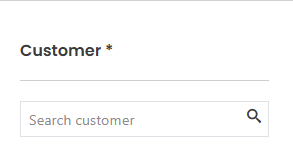
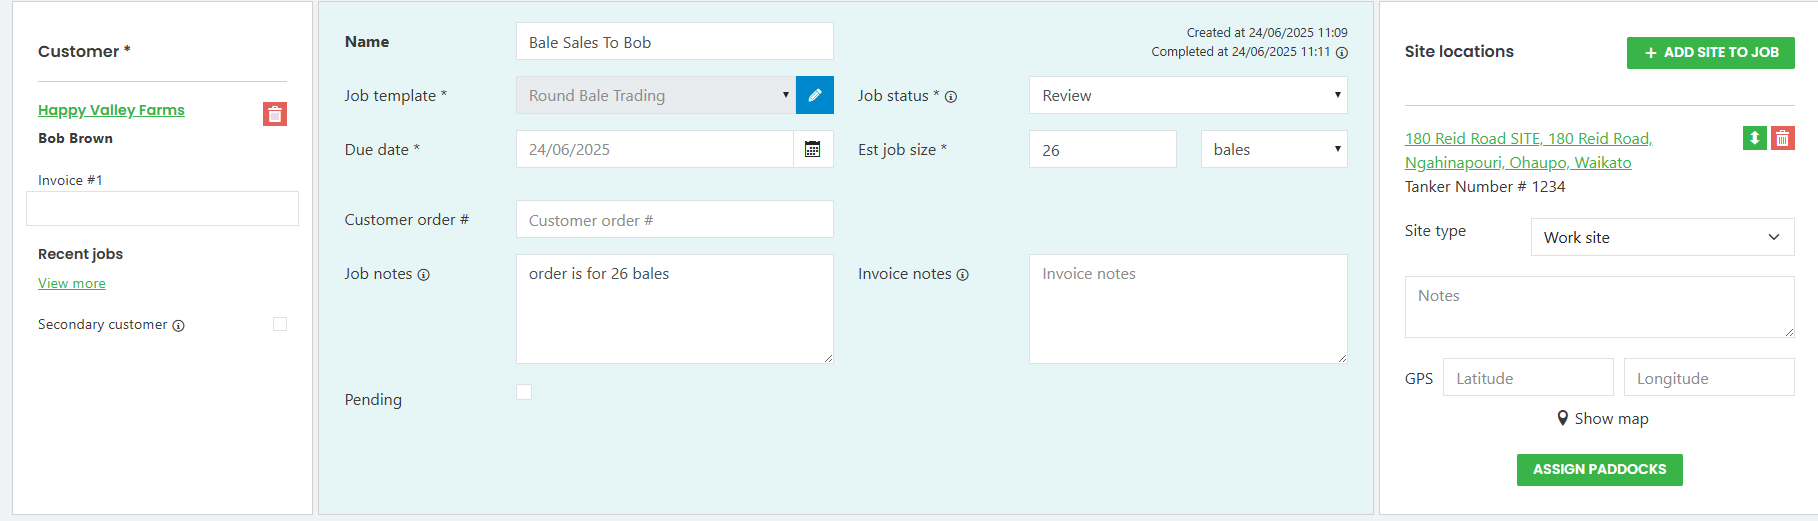
- Enter and Select the Customer
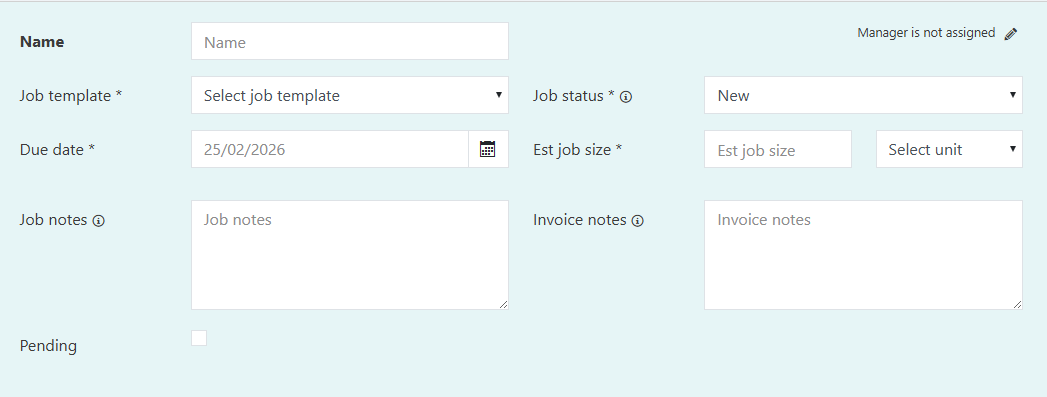
- Choose a Job Template
- Enter the Date and Time
- Enter the Job Size and Unit
- Add Job Notes
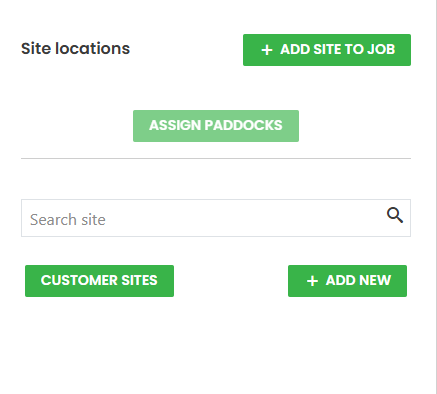
- Adjust the Site (if needed)
- Click Save (bottom left)

2. Add Job from Customer
This method is fastest when you’re already inside a customer record.
- From the Dashboard click into Customers

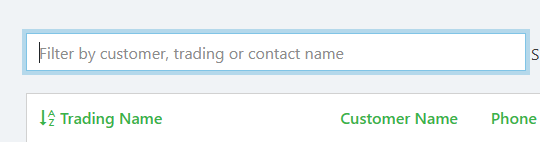
- Locate the Customer the job is for and open their profile.
- Click Add New Job (bottom of the page)

JobFlow will automatically:
- Add the customer details
- Link the job to the primary site
Then complete:
- Choose a Job Template
- Enter the Date and Time
- Enter the Job Size and Unit
- Add Job Notes
- Click Save (bottom left)
Duplicate Job
Dupli cating a job is ideal when repeating similar work for the same customer.
- From the Dashboard click into the Job List
- Open the Job You Want to Duplicate from the list
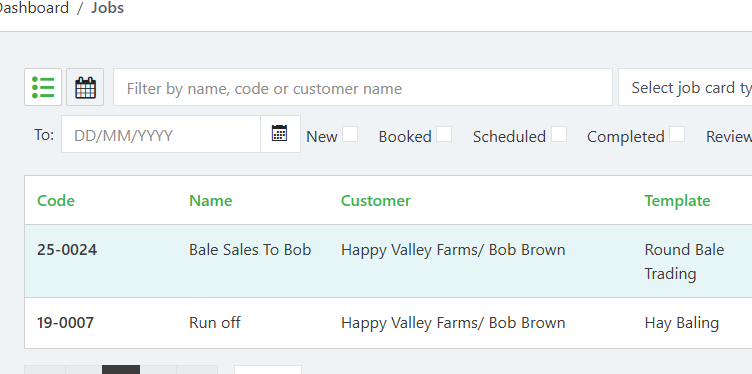
- Choose a duplication option (bottom of the job screen):
- Duplicate Job
- Duplicate with Assignments

Review What Gets Copied
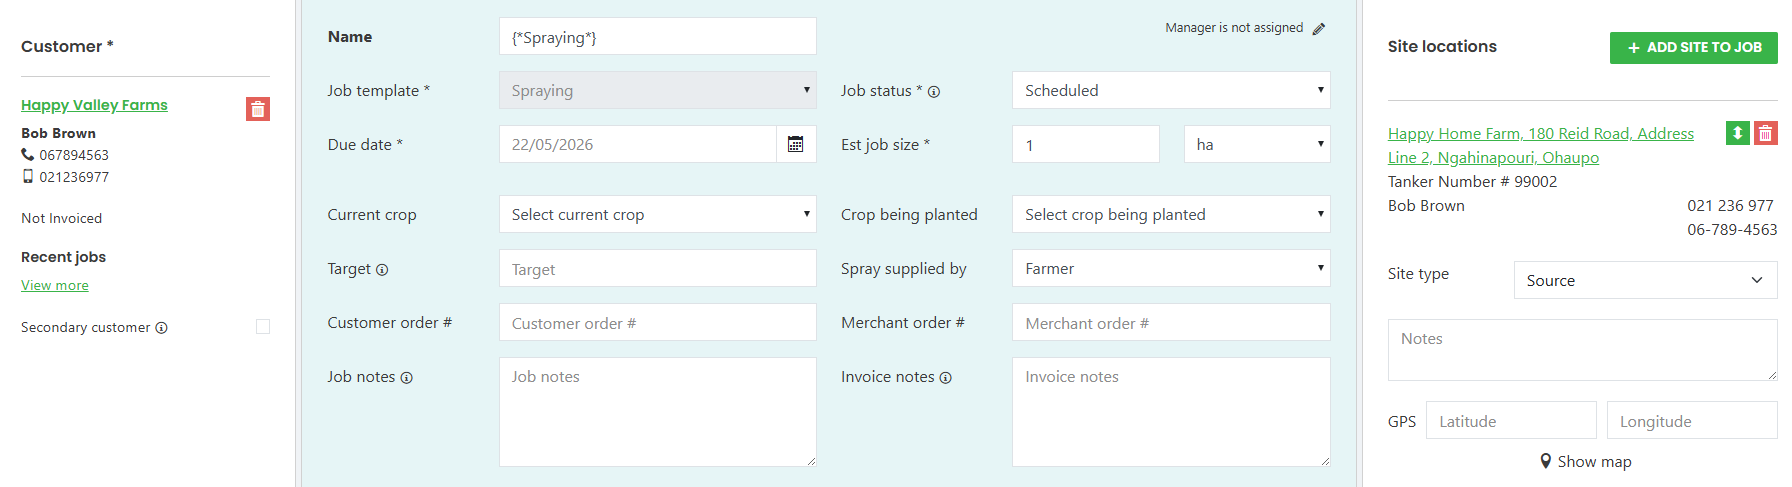
JobFlow copies all job information except:
- Actuals
- Financial changes
- Completed work
- Assignments only copy if you choose “Duplicate with Assignments”
Finalise the Duplicate
- Update any details needed
- Click Save Job (bottom left)
4. Quick Create Job
Use Quick Create Job when you need to create a job quickly with minimal steps.
- Click on the "Create a Job" Dashboard tile

- or in the Job List screen, Click on Quick Create Job (bottom left)

Both options open the Quick Create screen.
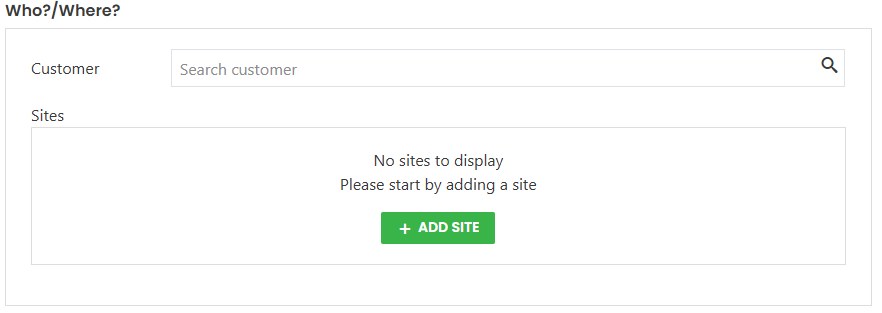
- Enter and select the Customer
- Type the customer name into the search box
- Adjust the Site if needed
- JobFlow auto‑selects the primary site
- Choose a Job Template
- Enter the Job Size
- Adjust the unit if required
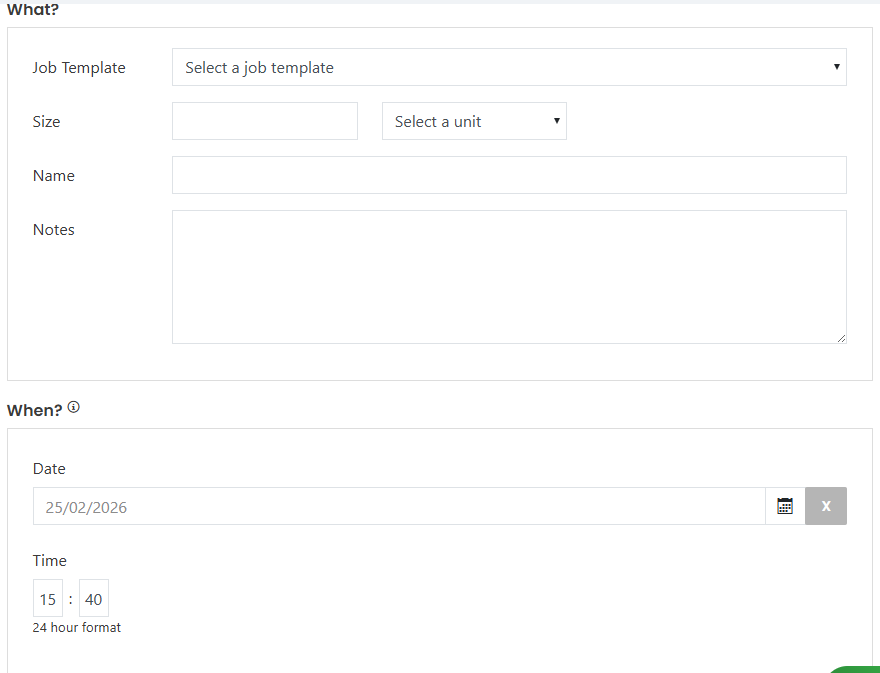
- Add Job Notes (optional)
- Enter the Date and Time

- Save and Open → Opens the job immediately
- Save and Create New → Creates the job and resets the form for another entry