
Adding a New User
Follow these steps to create a new user and assign the correct access.
1. Open the Users Page
You can access user settings from the main menu.
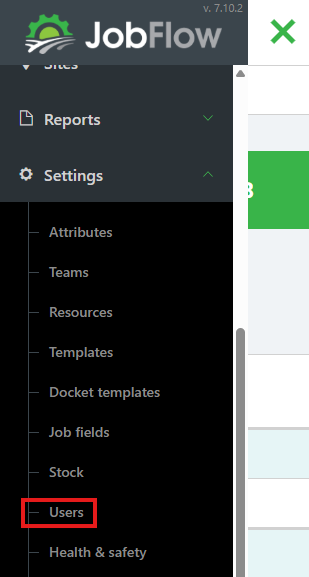
- Open the Hamburger Menu
- Navigate to Settings → Users
2. Add a New User
On the Users page, click Add User at the bottom left of the screen to open the user creation form.

3. Enter Login Details
Fields marked with an asterisk (*) are required.
Enter the following:
- Name
- Username
- Password (case‑sensitive)
- Role (select from the dropdown list)
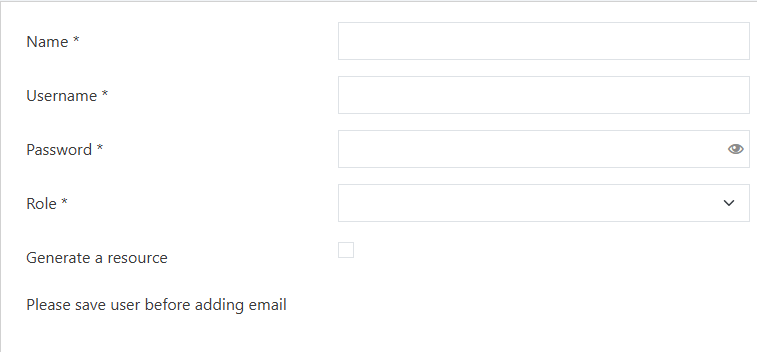
4. Link or Create a Resource
Every user must be linked to a resource if they are to be assigned to tasks in the mobile app.
JobFlow will automatically generate a resource if you select:
- Operator, or
- Team Leader
If you select Admin, or if a resource does not already exist:
- Tick Generate Resource
5. Save the User
Once all required information is entered, click Save at the bottom left of the screen.
The user is now active and can log in using the credentials you created.

6. Add an Email Address
After saving the user, you can add an email address to their profile.
- Click Add email beside the Email heading.

This will open a pop‑up window where you can enter the email address.
- Enter the email
- Click Confirm
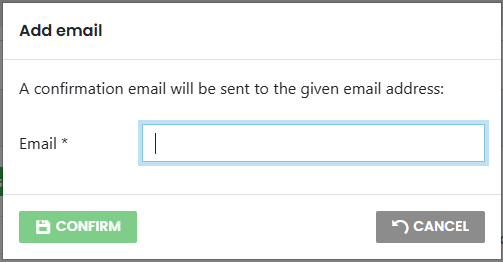
An email will be sent to the user to verify the address.
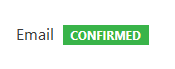
Until they confirm it, the profile will display a “Not confirmed” label beside the email.

Once confirmed, the label will update to show the email is verified.
On the right‑hand side of the screen, you will also see a list of the user’s Registered Devices.

7. Link the User to Payroll
If you are using JobFlow Timesheets for payroll, you will need to link the user to payroll.
- Click the Link button in the Payroll section.
