
Understanding Item Codes and GL/Account Codes
JobFlow can trigger either your Item Code or GL Account Code to appear on your draft invoice in Xero.
The sections below explain where these codes are set, how they behave, and what to do when they change.
Where Item/GL Account Codes Are Set
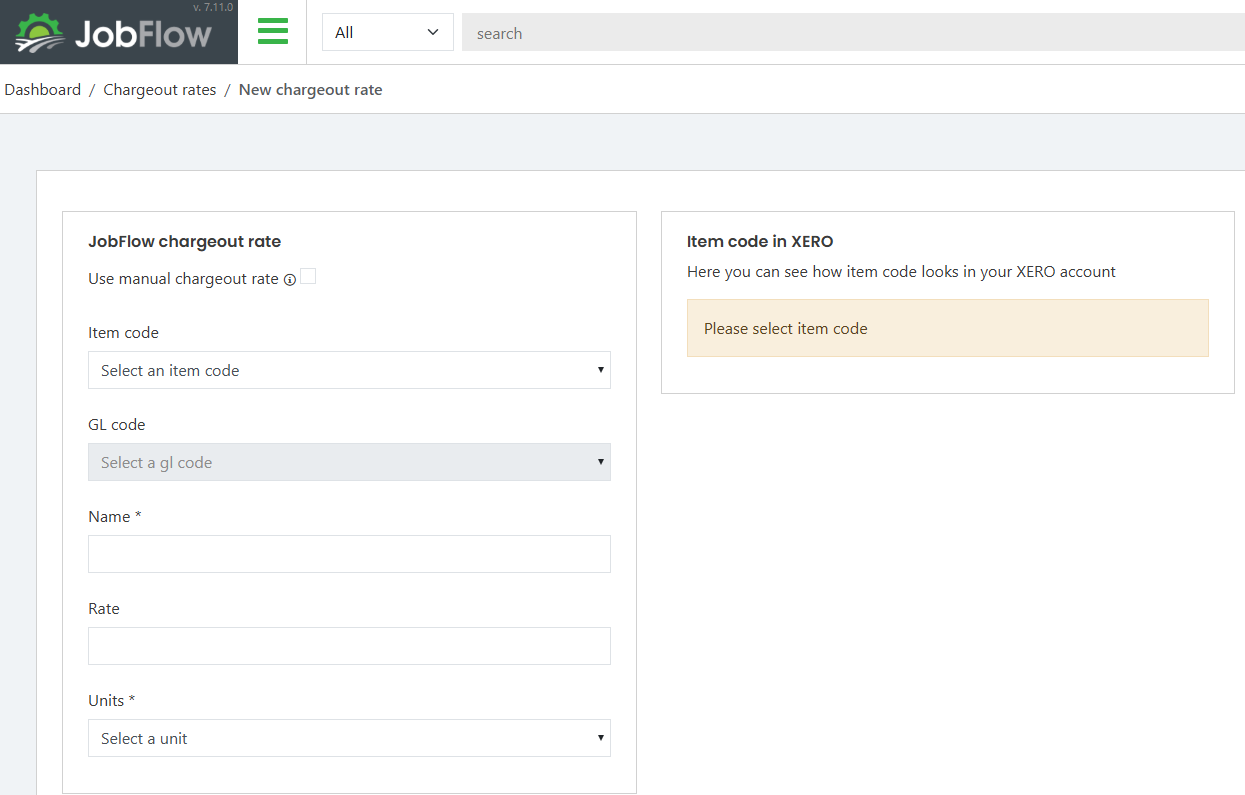
Charge-out Rates
- Charge‑out rates are created in Settings → Charge‑out Rates
- When setting up a charge‑out rate, you select the Item Code from Xero
- This Item Code determines how the line item will appear on the invoice
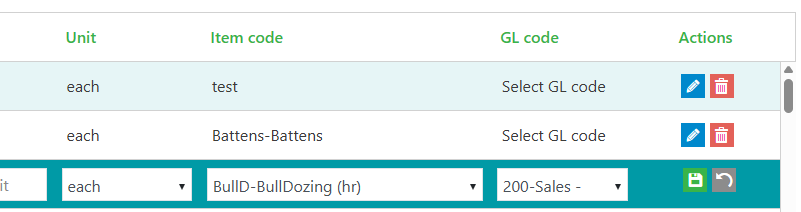
Services, Products, Materials
- In Settings → Stock, you can select the Item Code or GL Account Code from the stock list
- These codes flow through to the invoice when the item is used on a job
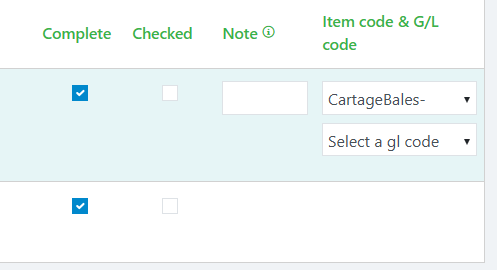
Changing Item/GL Account Codes for a Single Job
If a job requires a different code than usual:
- When the job status is Review, the Item Code and GL Account Code display in the job details
- Check these codes and update them before changing the status to Invoice
- This ensures the correct codes flow through to Xero
What Happens if a Code Changes in Xero
If a code has been updated or removed in Xero:
- JobFlow will display a message advising that the code cannot be found
- You will be given the option to:
- Clear the code, or
- Highlight it (highlighted codes appear in red)
To update JobFlow:
- Go to Charge‑out Rates
- Click Sync from Xero (bottom left)
- This refreshes the list of Item Codes and GL Account Codes from Xero

Do I Need Both an Item Code and a GL Account Code?
In most cases, selecting the Item Code alone is enough.
- The Item Code will pass through to Xero
- Xero will automatically apply the correct GL Account Code based on the Item Code setup
Only enter a GL Account Code if:
- You are not using Item Codes, or
- You want the line item to post to a different GL Account than the one normally linked to the Item Code