Adding File Attachments to Jobs
You can upload files to a job to provide operators with extra information, or attach documents that will be sent alongside the invoice when the job is approved for invoicing.
Prepare Your File
Before uploading, ensure your file meets the requirements:
- File size must be less than 3MB
- Common document and image formats are supported
- Custom formats (e.g., shape files, custom map files) cannot be uploaded
- If the file will be attached to an invoice, the file name must not include numbers or special characters such as #, @, $.
- These characters may be removed by Xero, causing issues with the attachment
Open the Job
- From the dashboard click into the Job List.

- Navigate to the Job you wish to attach a file to.
Open the Attachement Pop Up
- Click the Attachments button (centre bottom of the job screen)

Upload Your File
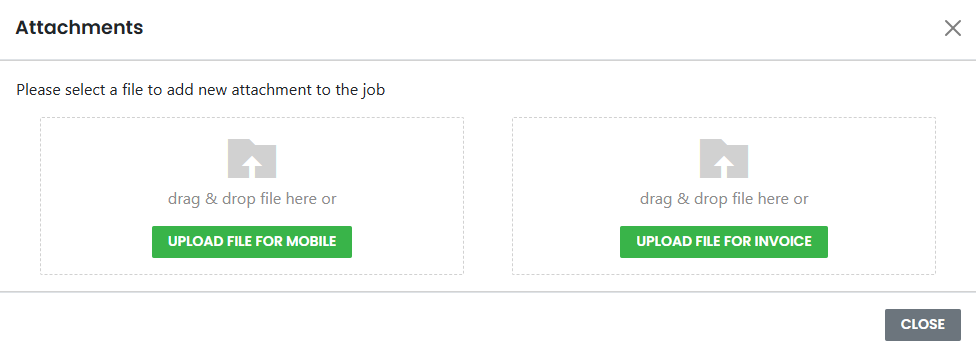
- You can upload files in two ways😀
- Drag and drop the file into the upload area
- Click Upload File and select the file from your computer
- The upload screen has two sections:
- Left side: Attachments for operators (visible in the mobile app)
- Right side: Attachments for invoices (sent to Xero/MYOB when invoiced)
 Confirm and Manage the Attachment
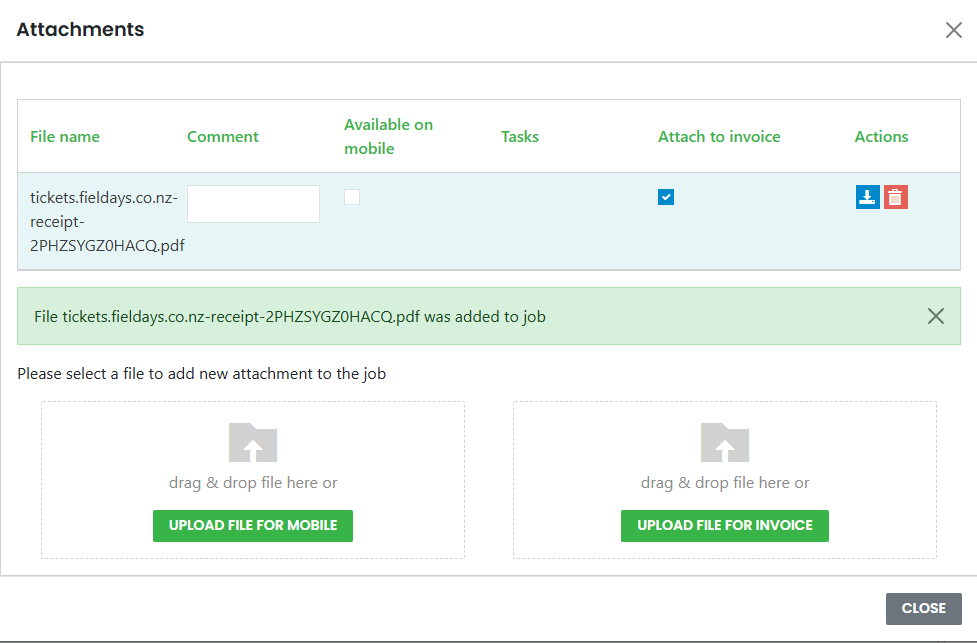
- Once uploaded, you will see a confirmation tile with options:
- Add comments
- Make available on mobile (for operator use)
- Attach to invoice (if required)
- Download the file
- Delete the file
- Select the relevant option depending on how the file should be used.
Storage and Visibility
- The file is visible to all Admin users
- It remains permanently stored against the job unless deleted
- All attachments are backed up in the cloud along with other job data