
Creating an Individual Customer and Link a Site
Follow these steps to create a new customer in JobFlow.
1. Open the Customers Page
You can access customers in two ways:
- From the Dashboard: Click Customers

- From the Hamburger Menu: Navigate to Customers → Customer List
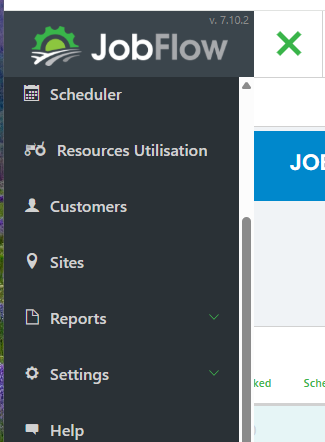
2. On the Customer List page
click Add Customer at the bottom left of the screen to open the customer creation form.

3. Enter Customer Details
Fields marked with an asterisk (*) are required.
Fill in the Trading name.
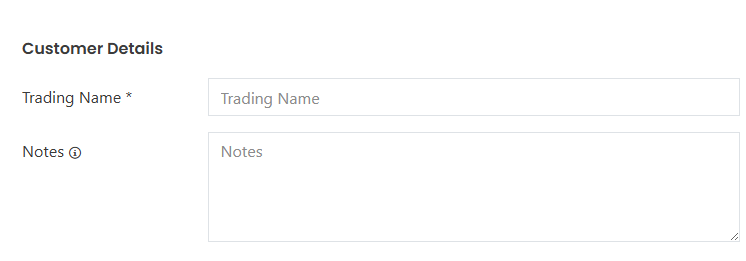
Once you enter the Trading Name, JobFlow will prompt you (on the right-hand side) to add a Primary Contact.
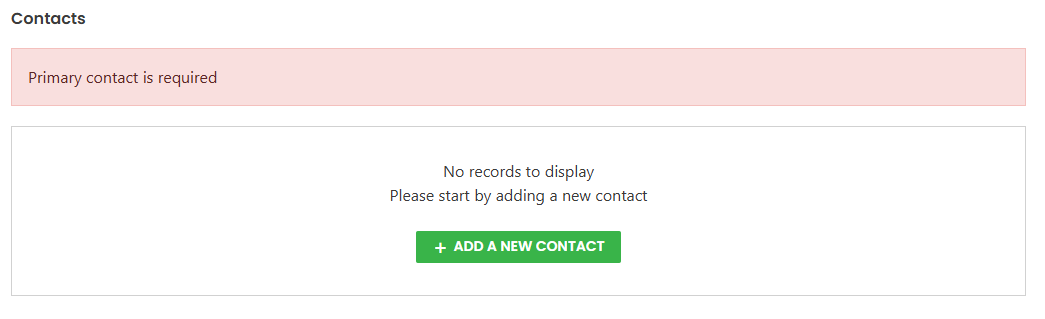
4. Add a Primary Contact
- Click Add a new contact.
- Enter the contact’s details.
- Tick the box to mark them as the Primary Contact.
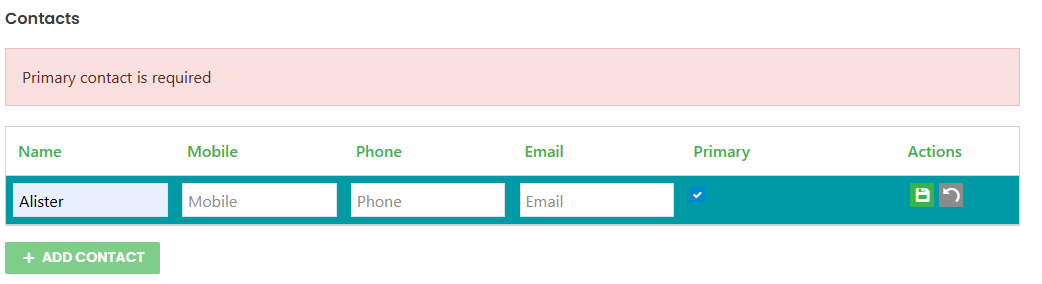
- Click Save.

You can add additional contacts at any time by selecting Add Contact and completing the form.
Tip: The more detail you enter for both customer and contact information, the easier it is to ensure jobs and sites are assigned correctly.
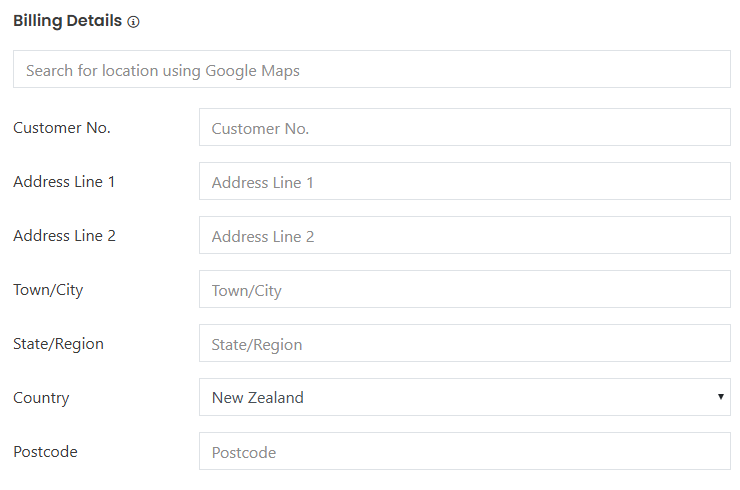
5. Enter Billing Details
Under Billing Details, you can either:
- Enter the address manually, or
- Use the Google Maps search box to quickly find and autofill the address.
Once all required information is entered, click Save Customer at the bottom left of the screen.

6. Link or Create a Site for the Customer
After saving the customer, you can link an existing site or create a new one.

Option 1: Search for an Existing Site
- Use the search box to look up any site already stored in JobFlow.
- Select the site to link it to the customer.
Option 2: Add a New Site
- Click Add New Site.

- Enter the site details.
- Save to link it to the customer.
Option 3: Add From Billing Address
- Click Add from Billing Address.
- JobFlow will copy the billing details to automatically create and link a new site.