
Anatomy of the Job Page - Part 1 (Job Details)
This section describes the different areas of the Job Page and how each part is used when creating, reviewing, and managing a job.
The job page is made up of five main areas:
The job level data
The top portion of the Job Page contains all core information required for charging, scheduling, and job setup.
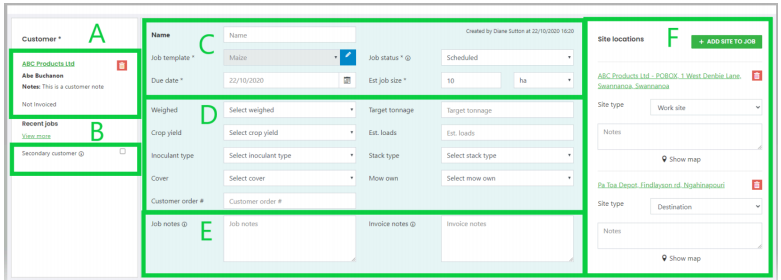
A: The Primary Customer.
- Every job must have a Primary Customer for charging
- Internal jobs still require a customer for tracking who the work was done for, even if the job is not charged
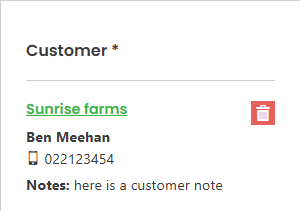
- If the customer has a customer note, it will display here
- When creating a job, JobFlow shows a list of the most recent jobs for that customer
- This helps you check whether the job has already been entered
- Once the job is saved, this list no longer appears
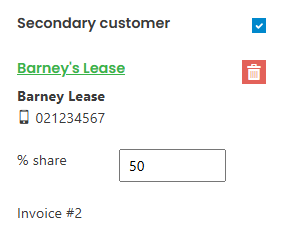
B: The secondary customer.
If charging is split between two customers (e.g., Sharemilker and Owner):
- Select a Secondary Customer
- Enter the percentage they will pay
- JobFlow automatically calculates the Primary Customer’s percentage so the total equals 100%
C: The generic job data.
Each job must include:
- • Job Type
• Due Date
• Size

When a job is created:
- The job status defaults to New
D: The job type specific job details
Depending on the job template selected:
- Additional fields will appear
- These fields allow you to record instructions or details specific to that job type
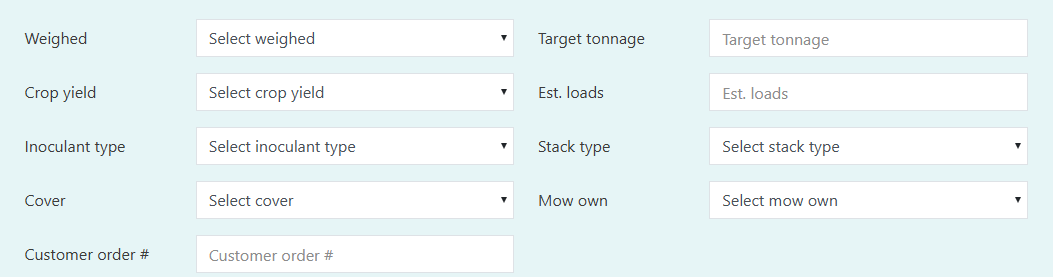
- The selectable lists are managed in Settings → Job Fields
E: Job Notes
Job Notes appear for all job types.
- Job Notes display on the mobile app
- Use these for general job information or operator instructions
- Invoice Notes do not appear on mobile
- These notes appear on the customer’s invoice
- Use this field for any customer‑facing billing notes

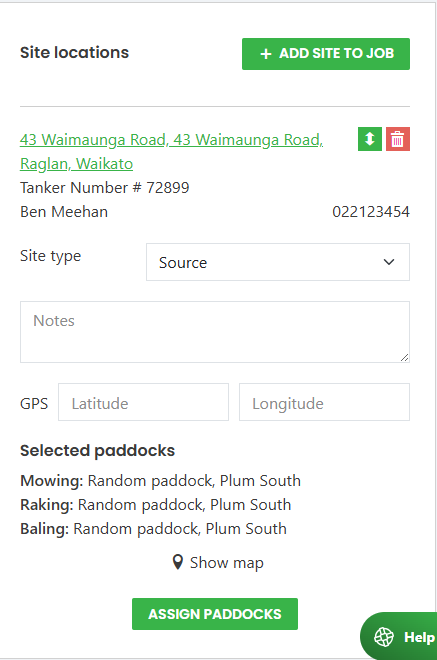
F: Job Sites
- If the customer has a default site, it will automatically be added to the job
- You can add multiple sites to a job
- Each site can be assigned a type, such as:
- Work Site
- Source
- Destination
The comments block

- Any comments added by an operator against any task in the job will appear here
- Admin users can also add comments to appear on mobile
- The job must be saved before admin comments are sent
- Add the comment, then click Save Job