
Linking Xero Customers to JobFlow
Once your JobFlow account is connected to Xero, you can begin creating customers using the data imported from Xero.
Add or Create Customers
- Go to customers from the dashboard.
- Tap "Create customer from Xero" (bottom left of the screen)


Select Customers to Import
- A list of all Xero customers not yet added to JobFlow will appear
- Scroll down the page to review the full list
- Use the search bar to find specific customers
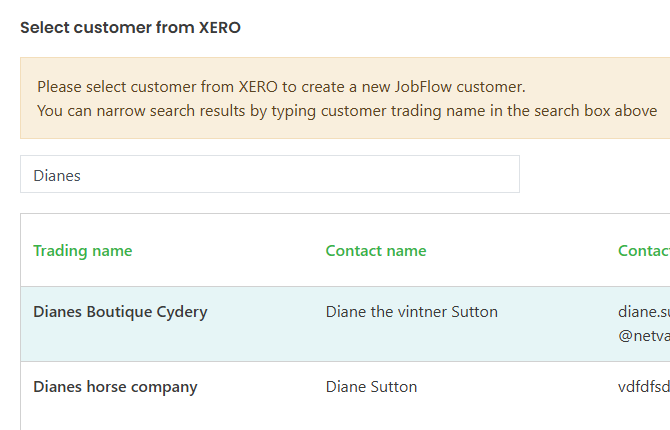
- Tap the tick box on the right‑hand side of each customer you want to import
- You can select as many customers as needed on one page
- Once all required customers are selected, tap Create Selected Customers (bottom right)
Review Your Selected Customers
After selecting customers:
- A pop‑up box will appear showing all customers chosen on that page
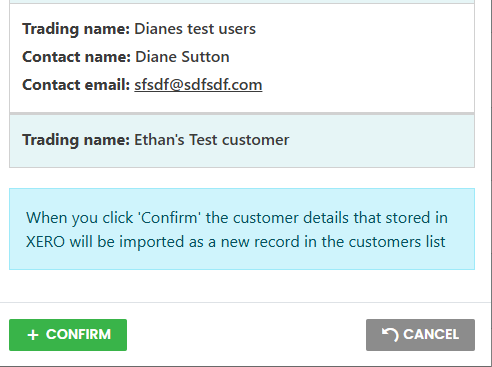
- Review the list carefully
- If correct, tap Confirm (bottom left)
- If changes are needed, tap Cancel to return and adjust your selections
Completed Import
Once confirmed:
- The selected customers will appear in the column Link to JobFlow Customer
- The tick box beside each imported customer will be disabled (cannot be selected again)
Move to the Next Page
If more customers remain:
- Use the arrows and page numbers at the bottom left of the screen to navagate to the next page.

Repeat the same process:
- Select customers
- Tap Create Selected Customers
- Review
- Tap Confirm
Continue until all required customers have been imported from each page.