
How to Use the Calendar Based Scheduler
The Scheduler helps you plan, assign, and track tasks day-by-day with full visibility across operators, machines, and job templates.
The Scheduler is found on the Dashboard page. It is the last blue tile on the right.

When you first navigate into the Calendar Scheduler, the layout shows:
- The days of the week across the top.
- Tasks down the left side, grouped by job template (e.g. Cultivation, Hay Baling).
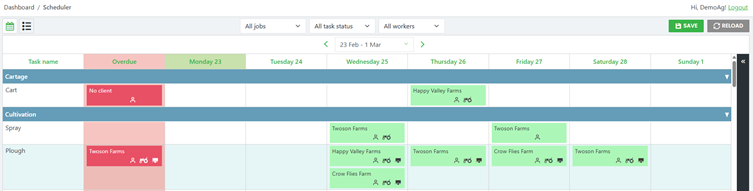
From here, you can review the tasks booked in for the current week, as well as the overdue tasks from the previous week (show in the far-left column). Overdue tasks, including those in the current week, will appear in red.
- You can click and drag overdue tasks into the correct day to reschedule them. Any changes you make are visible only to you until you save.
- The Save button shows a running tally of all changes that need to be saved.

What do the colours mean?
Blue tasks = New or booked, but not yet scheduled.

Green tasks = Scheduled and assigned.
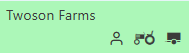
Stopwatch icon = Operator has started the task.

Grey tasks = Completed.

Red tasks = Overdue.

Assign or Remove Resources
Within the Scheduler, you can assign or remove resources from a task, such as the Operator, Machine or Implement. To do this, click on the task you want to update. The task details then appear on the right-hand side of the screen.
From here, you can either click on the plus icon 


You can then drag and drop your selection into the task.
To remove a resource, click the tile of that resource within the task.
Resources can also be dragged directly into task tile in the calendar view.
Once you have made the changes, the task tile will display a purple border and purple icons, indicating the updates are temporary and visible only to you.
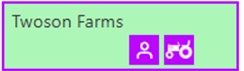
Click Save to finalise the update. The task tile will turn green, meaning it’s scheduled and visible on the operator's mobile app.
Temporary Teams
An operator, machine, and implement can be combined into a temporary team to use across multiple tasks during the week. (e.g. Wendy + Tractor + Discs).
To create a temporary team, open the full list of resources at the bottom of the page, then click and drag each resource you want into the ‘temporary groups’ box in the bottom left of the screen.
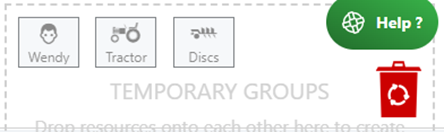
To remove the group, click and drag it to the red bin in the bottom-right corner.
To assign this group to a task, use the same method you would use to assign a single resource.
Bulk Assign Resources
Resources can be added to multiple tasks of the same type in one go.
Hold down the ‘Ctrl’ key on your keyboard and click on the tasks that you want to bulk-assign the same resource to.
Assign the resources using the same method you would use for a single task, with the task details open on the right-hand side of the screen.
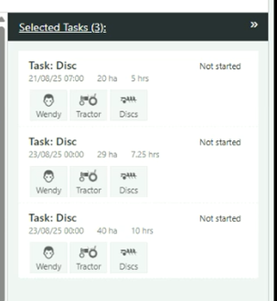
Click save once you have finished updating your tasks.
Shift Tasks into Schedule Slots
To shift a task between days or time slots, select the task and use the time‑adjust buttons in the Task Details panel on the right‑hand side of the screen.
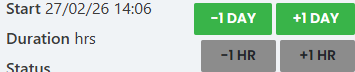
This is the only way to move tasks into the following week.
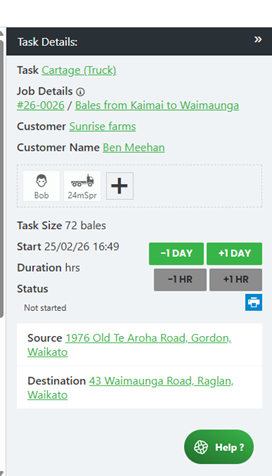
Viewing Task Details
When you click on a task in the Scheduler, it opens more details for that job. If you hover your mouse over the area around the task name and job details, a ‘view more’ option will appear.
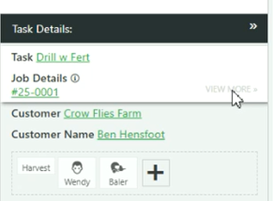
Selecting this will show all tasks linked to that job. If you hover over an individual linked task, you will again see a ‘view more’ option, which will take you directly to that specific task.
You can also hover over the Destination details to access another ‘view more’ option. This will display all tasks associated with that site, and at the bottom of the details tab you’ll see a site map.
Any information that is underlined and shown in green can be clicked to open more details within JobFlow. For example, clicking the Customer Name will open a new browser tab with the customer details page.
Clicking the map will open the site pin in Google Maps in a new tab.