Connecting to MYOB
Follow these steps to connect JobFlow to MYOB. Once connected, JobFlow can automatically create draft invoices in MYOB when a job is moved to the Invoice state.
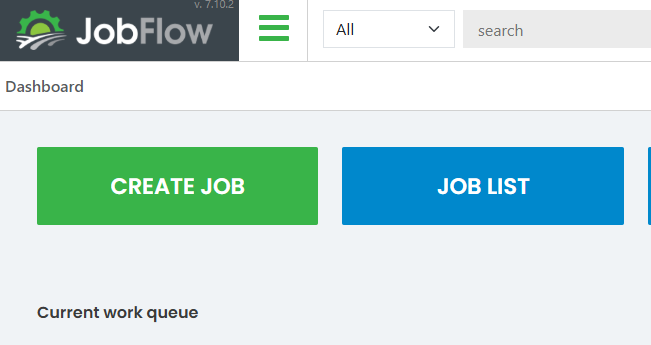
1. Log in to JobFlow Admin
Log in using your JobFlow Admin account to access integration settings.
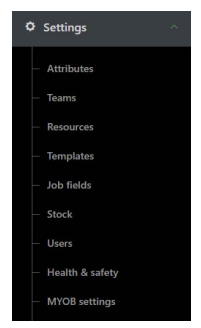
2. Open the MYOB Integration Settings
Click on the hamburger menu → Settings → MYOB settings
This opens the MYOB integration setup page.
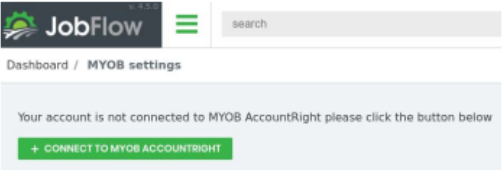
3. Start the Connection Process
Click + Connect to MYOB AccountRight.
This begins the authentication process with MYOB’s cloud service.
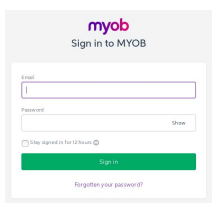
4. Log in to MYOB AccountRight Cloud
A MYOB login window will appear.
- Enter your MYOB AccountRight Cloud username and password.
- Approve access when prompted.
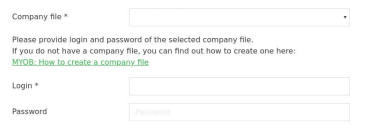
5. Select Your Cloud Company File
After logging in:
- Choose your Company File from the dropdown list.
- Only cloud‑enabled AccountRight files will appear.
- Enter the Company File Login and Password.
- This is the login for the specific file stored in the MYOB cloud.
- If your login does not work then use 'admin' and leave the password blank
- Click Save.
6. Confirm Successful Connection
If the connection is successful, you will see the confirmation message:
“You are now connected to MYOB AccountRight. Now if you change a job to the invoice state in JobFlow a draft invoice will be created in MYOB.”
This means JobFlow is now authorised to create draft invoices in your cloud‑hosted MYOB file