Connecting JobFlow to Xero
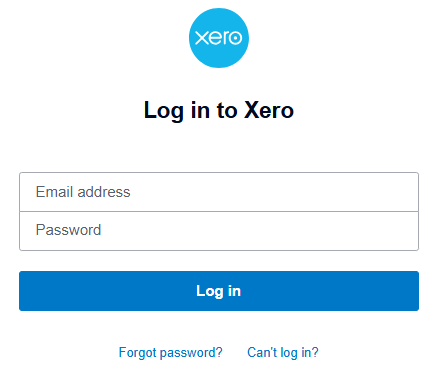
1. Log in to Your Xero Account
Start by logging in to your Xero account.
2. Add JobFlow as an Application
On the right hand side of the screen there is the waffle icon. Click on this to open the Apps menu.
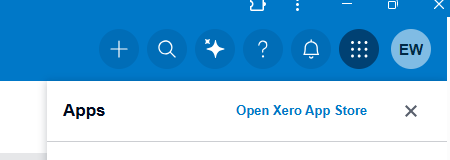
Select "open Xero App Store" and search JobFlow
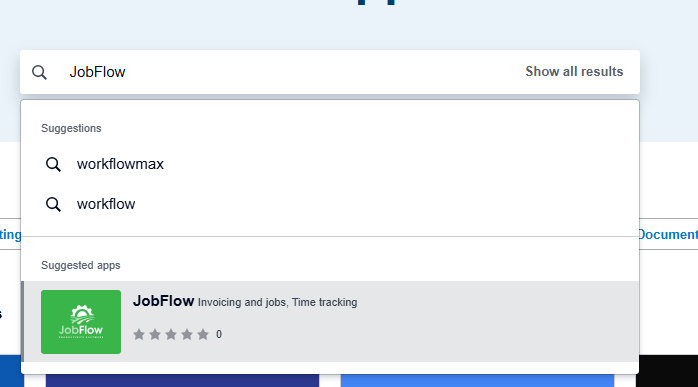
select the suggested app with the JobFlow logo.
Select get app
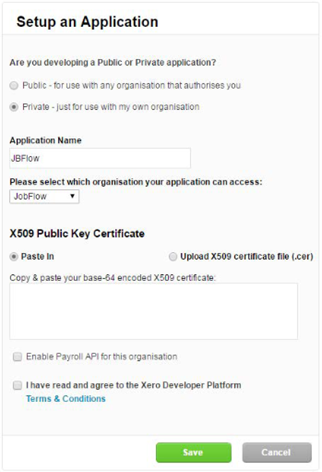
This opens the Set up an application page.
On this screen:
- Select Private
- Enter JobFlow as the Application Name
- For the X509 Public Key Certificate, ensure the option is set to Paste
- Paste the text version of your public key into the certificate box
- Tick the Terms and Conditions box
- Click Save
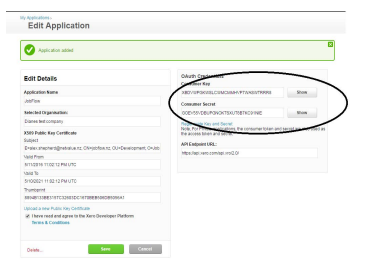
3. Send Your Credentials to JobFlow
After saving, Xero will display the credentials required to complete the connection.
- Click Show next to Consumer Key
- Click Show next to Consumer Secret
- Copy both codes and email them to the JobFlow support team
We will add these credentials to your JobFlow account and notify you once the connection is ready for testing.
How to Confirm the Connection Is Working
Once JobFlow support has enabled your connection:
- Open a job that is ready to be invoiced
- Ensure all billing details are correct
- Change the job status to Invoice and save
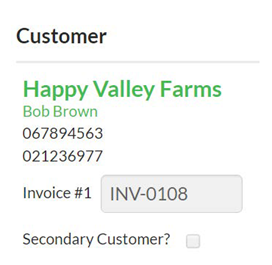
If the connection is working, the job screen will update and an invoice reference will appear under the customer details.
What Syncs Between JobFlow and Xero
Item Codes
When connected, Xero Item Codes synchronise into JobFlow.
You can then select these codes when setting up:
- Templates
- Stock items
Account Codes
Your Xero Chart of Accounts also syncs into JobFlow.
These GL codes become available for selection in:
- Templates
- Stock items
Client Details
JobFlow synchronises client information with Xero based on the Trading Name.
- If a matching Trading Name exists in Xero, JobFlow links to that client
- If no match is found, JobFlow creates a new client in Xero
- Updating client details in JobFlow will update the corresponding client in Xero